Graffiti Gone!

When you are little, it sometimes feels difficult to have a big voice. But when you share your thoughts and feelings about things that happen in your community, and that community shares those words in a bigger way, all of a sudden it seems like little voices do matter and become bigger as they make a difference. Thank you to Out to Lunch Catering for sharing the sentiments of the Grade 2 and 3 students from Seymour Elementary and for helping them learn the lesson that speaking out about something you feel strongly about is important. And has impact. (Thanks also for the delicious cookies shared when we came by to visit!)

What are we celebrating? Big news in our school community! The graffiti covering the beautiful mural on the wall at Out to Lunch Catering (located just a block and a half from our school) has been washed off! While some traces of the graffiti can still be noticed up close, the mural we love can be seen again. And . . . a little “sign” leans up against one corner of the wall. On this wooden display hang our blog posts (read here and here to catch up on this story) featuring student thoughts and writing about the spray paint that covered this very wall in graffiti just over a month ago. The blog posts covered in plastic to protect them from the rain seem to stand guard in front of this newly clean wall.

Students were thrilled to see their work! Excited voices shared wonder at how great the mural looked again and pride at having our classroom’s voices shared. Students carefully examined the mural and chattered to each other about how fantastic it looked.

After the excitement toned down, we talked about what we noticed, what we felt and why we thought OTL Catering had shared our words. Many students agreed that they felt happy, excited and relieved that the mural could be saved. Some felt proud to have their thoughts displayed. One child commented,”If people see what we wrote, they will know that kids are upset and sad and they might care more to not make any more graffiti. People don’t like to make kids sad.” Many said that we helped the wall be more powerful.

One little guy whispered to me earnestly, “I know who did that graffiti. It was the bad guys.” We were happy to join forces with the “good guys” who cleaned the wall to take a stand against graffiti.

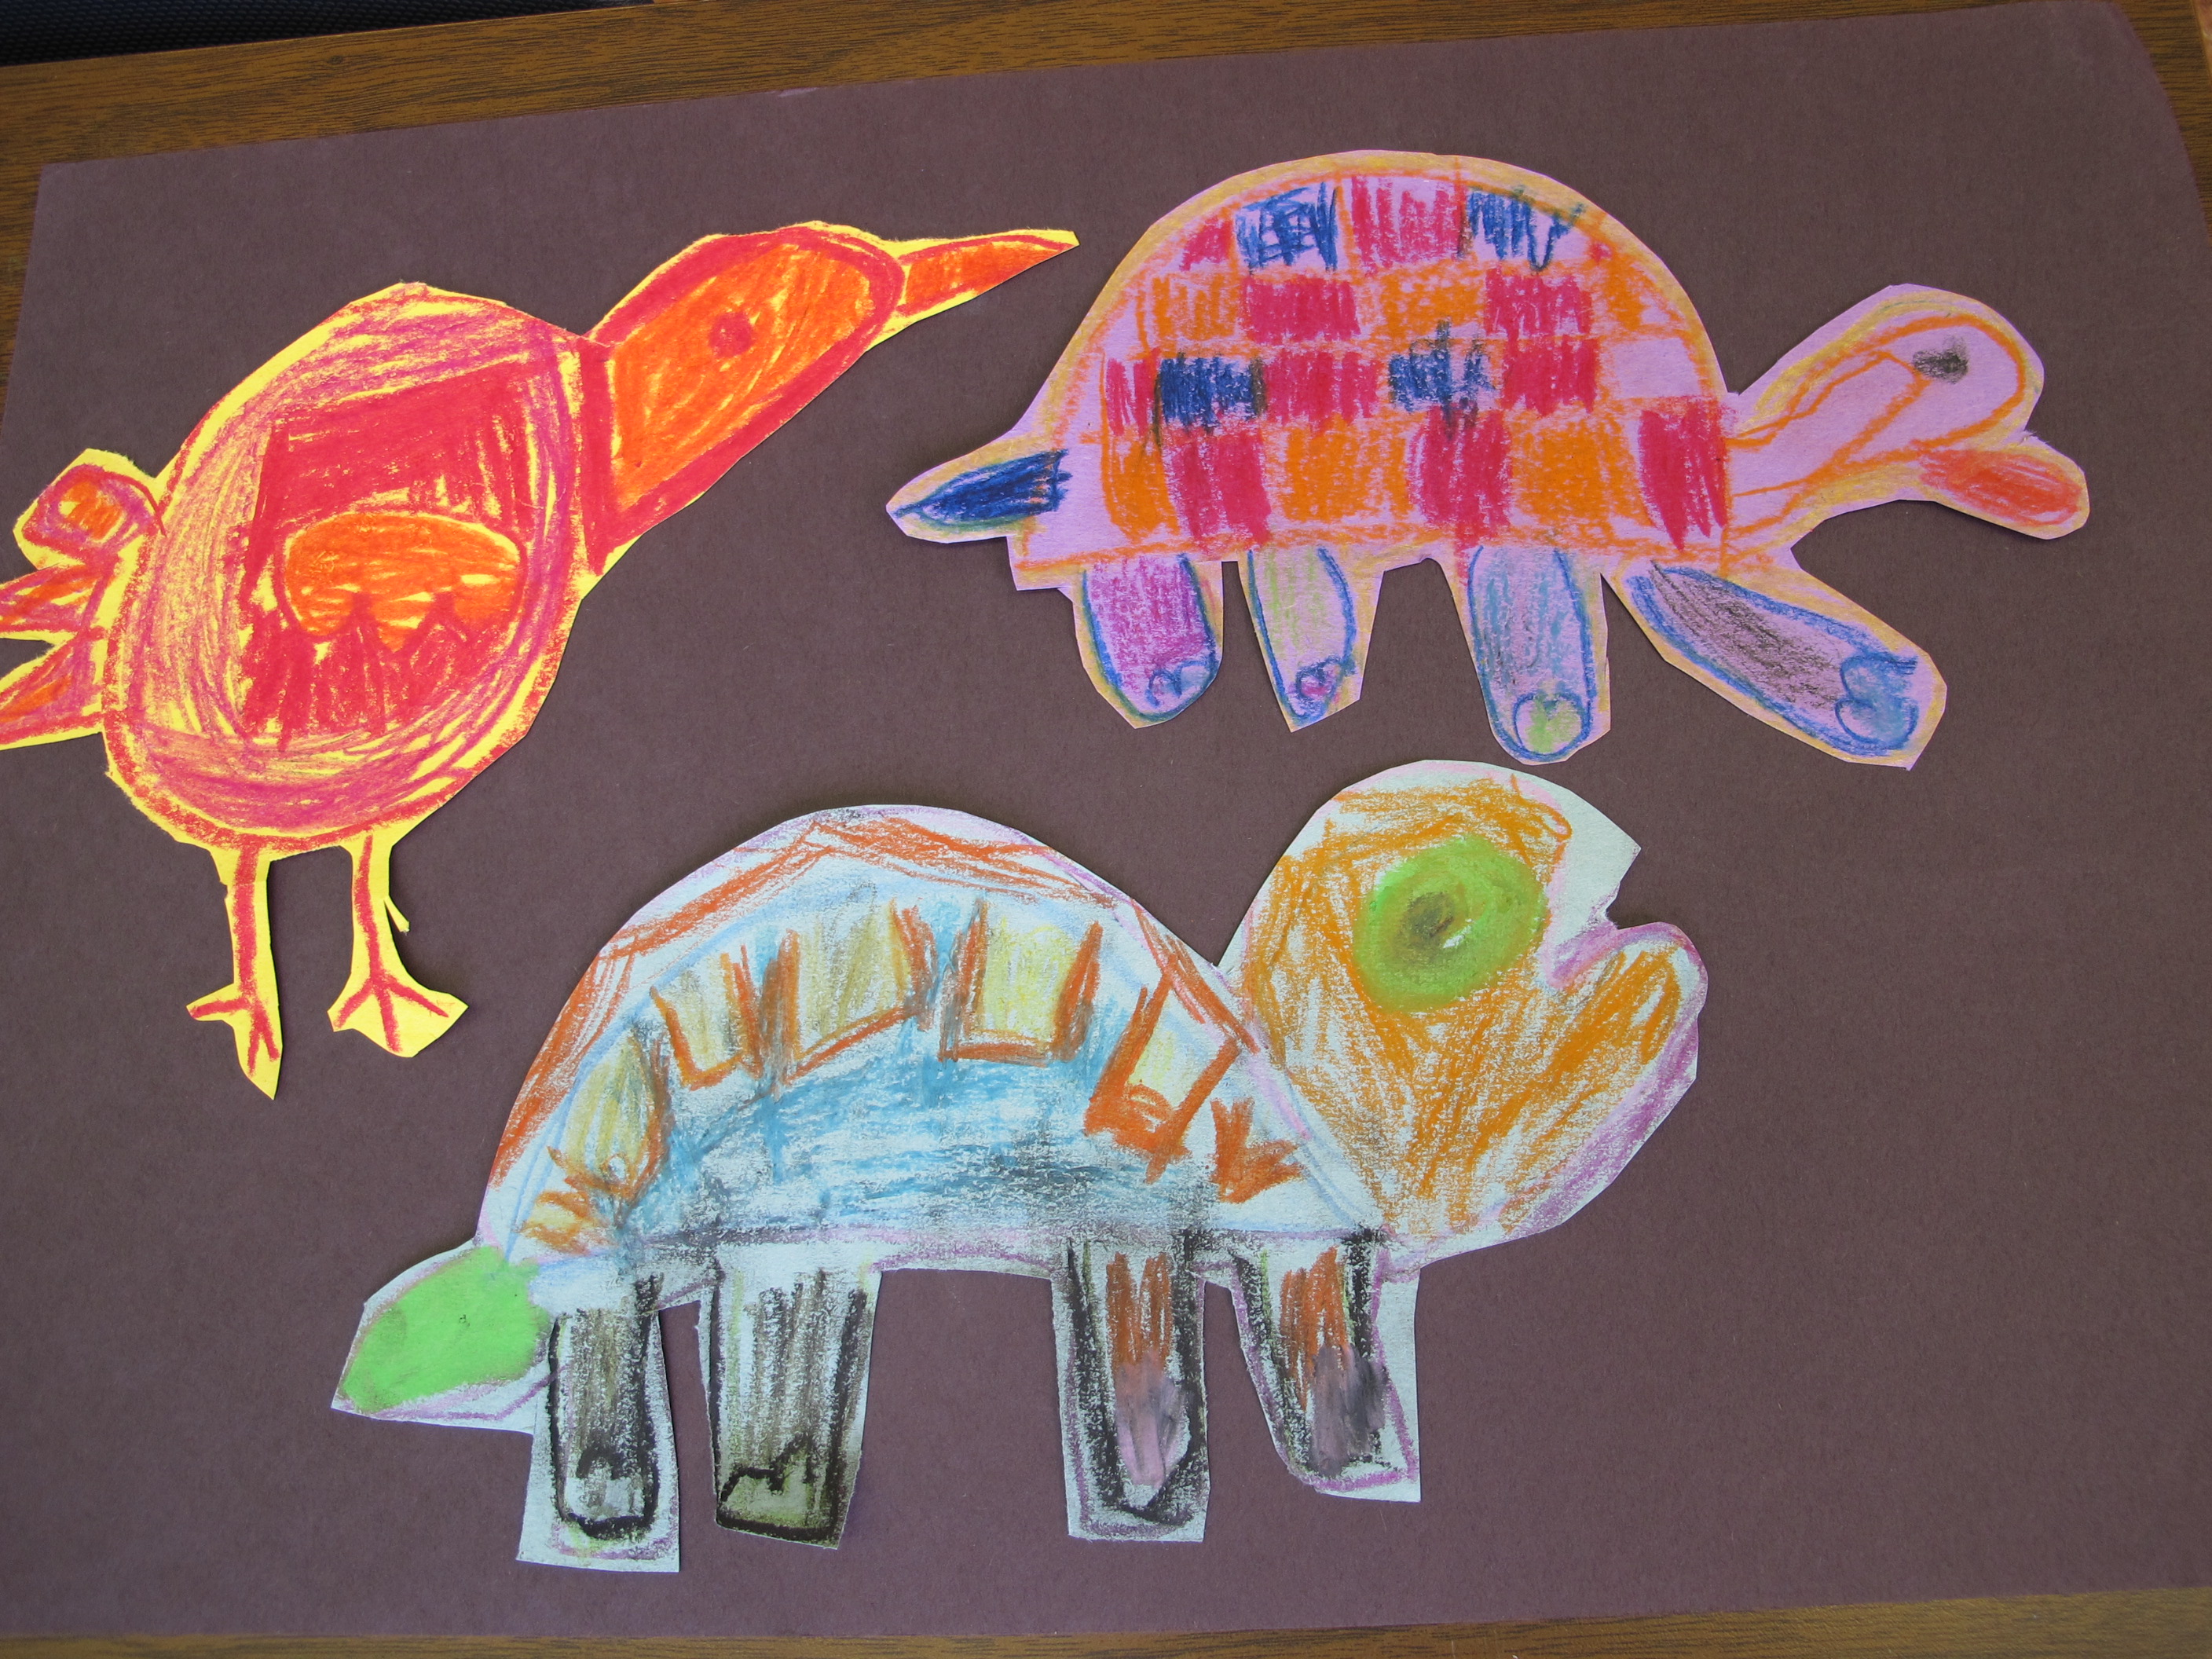
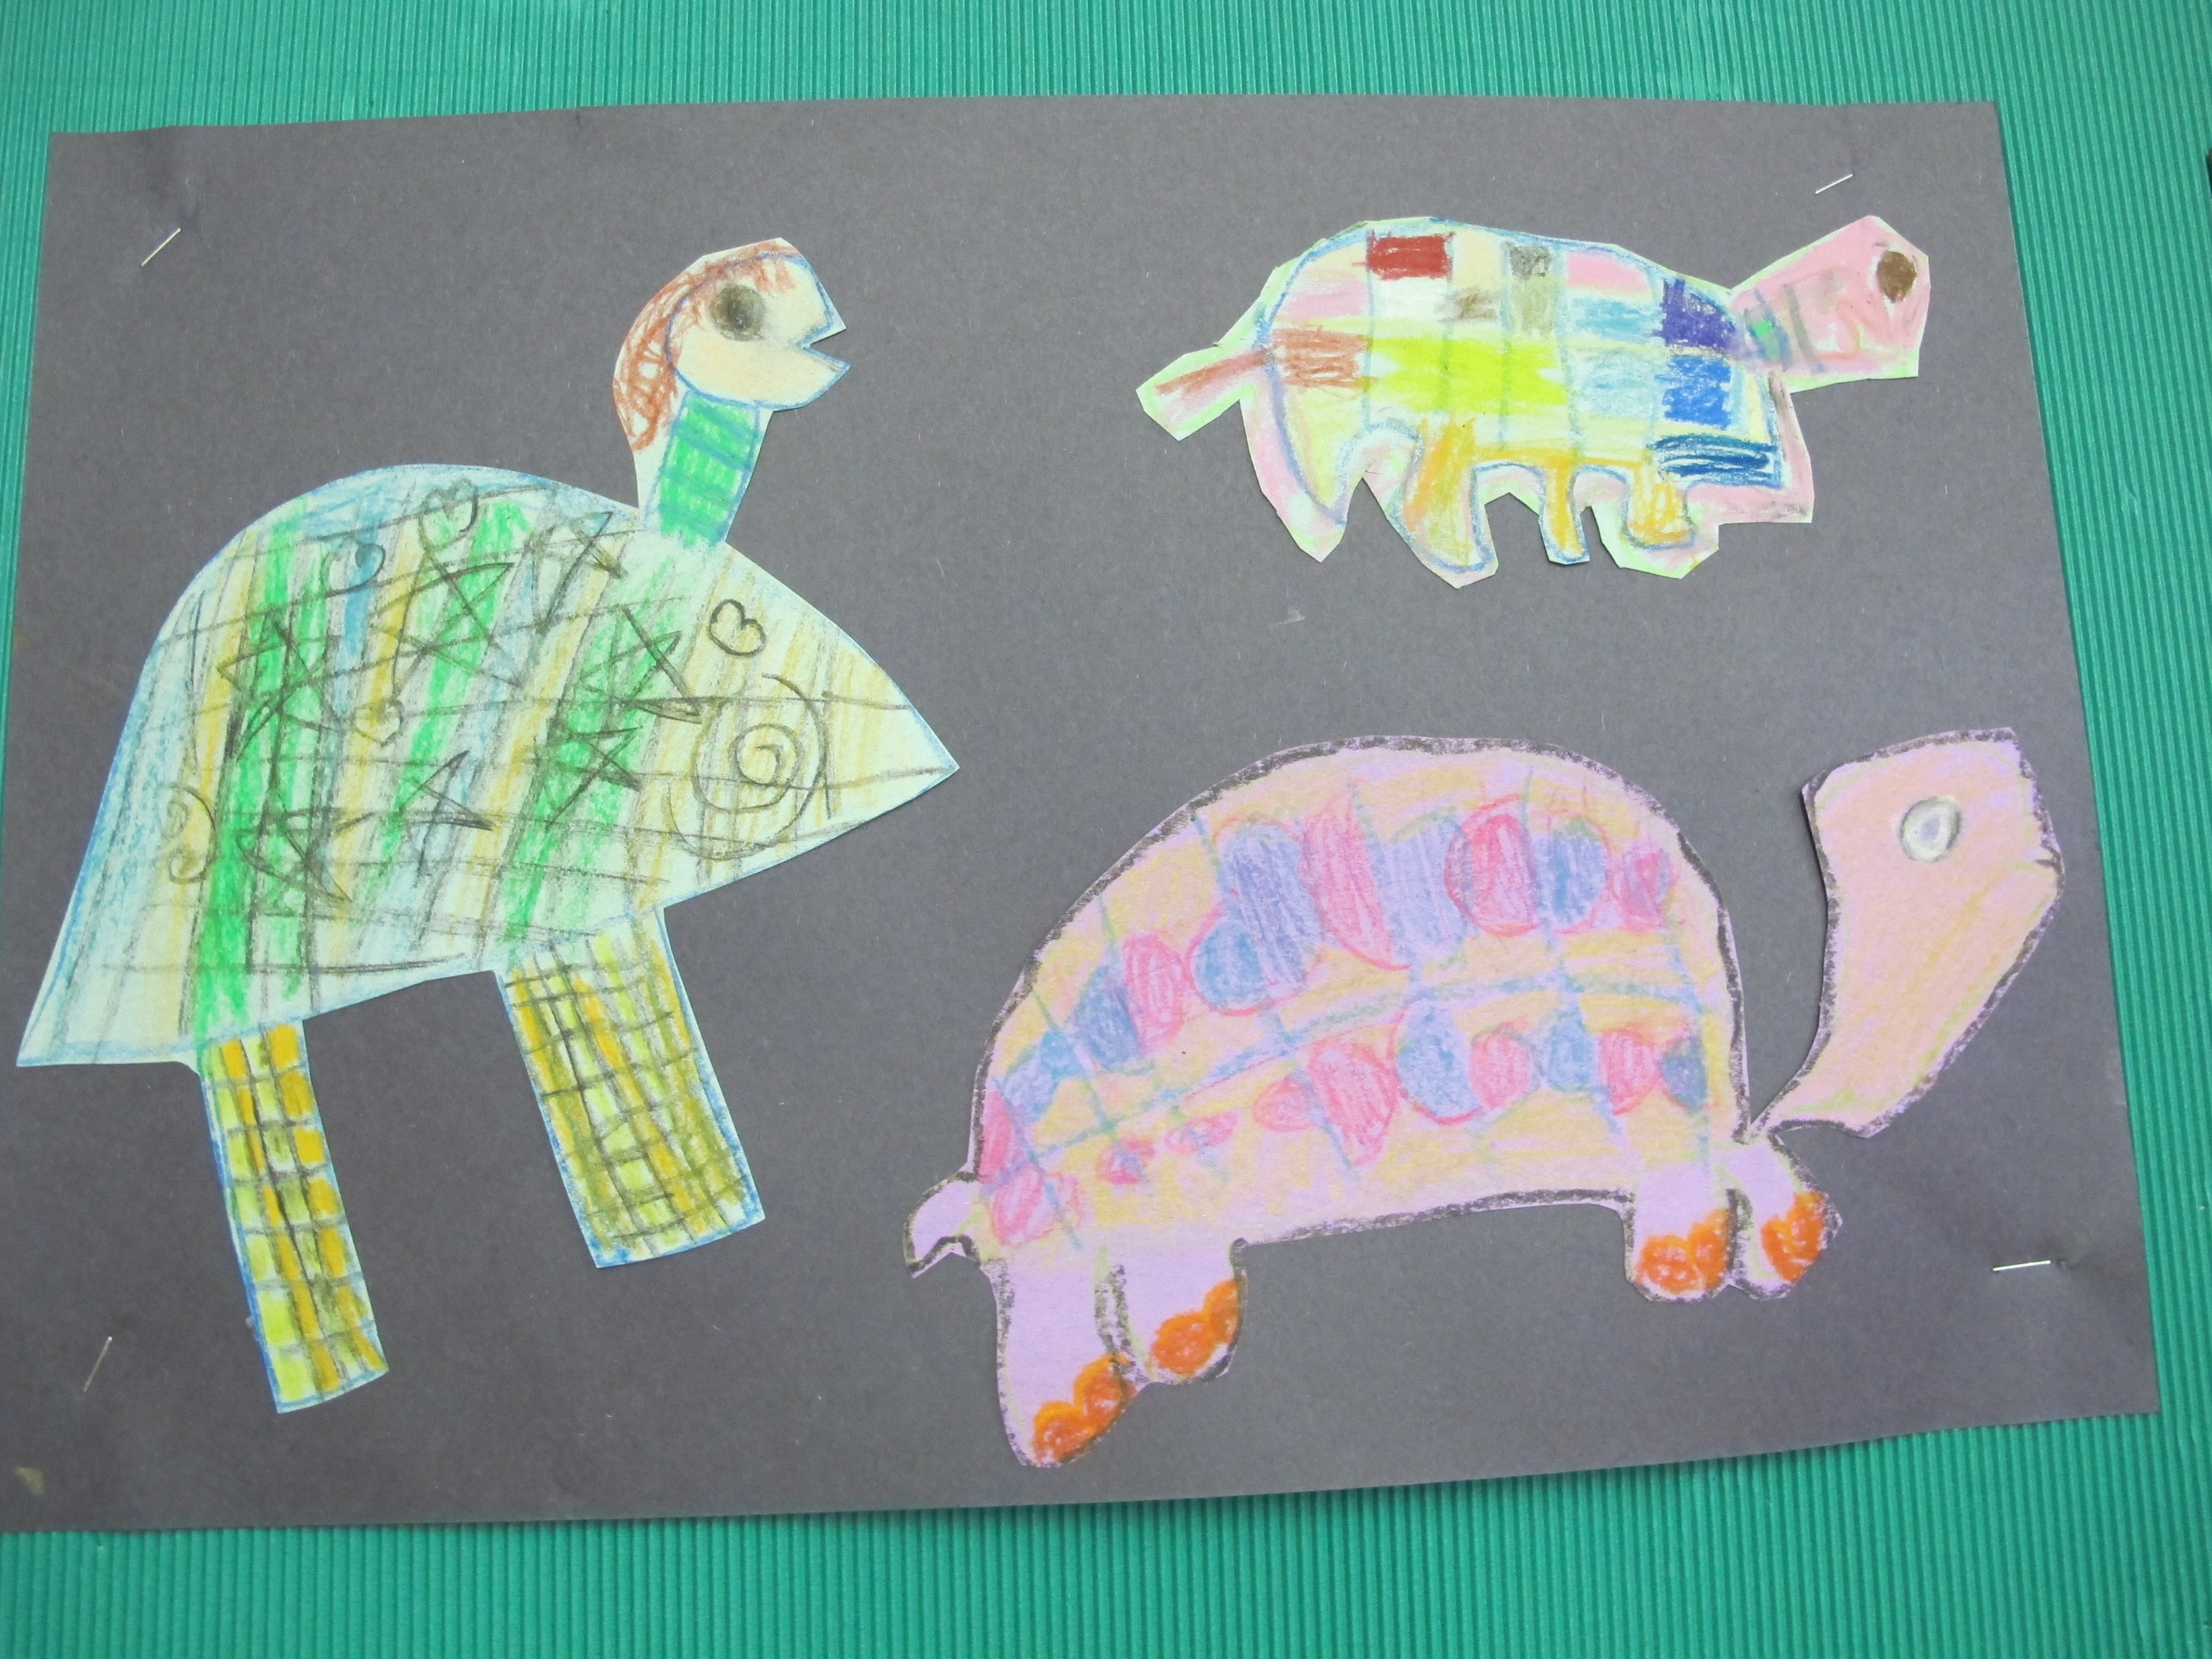
Below are some pretty happy “anti-graffiti” superheroes!

Back in class we decided to write about this subject one more time. We had a big discussion about possible titles for our reaction. “Let’s call it Graffiti x 0 because now there is no graffiti!” “We should call it Graffiti All Gone.” “I’m going to call mine Graffiti Keep Away!

Ava shared, “My title is Graffiti Wipeout because the graffiti has been wiped off and this makes we feel awesome! I hope our writing protects the wall.”

The children had lots to share. What came through loud and clear was how much joy they felt that the mural was back to the way it should be! Kelvin writes “I saw the graffiti had no paint on the mural anymore. We put up a sign. We are glad that the graffiti is off. We put up a sign to protect it from bad guys who wanted to paint it.”

Our words offering protection against future graffiti was a big theme.

Yes, this story got its happy ending in the form of a cleaned up mural. But beyond this, we learned that we can be part of the stories that surround us. That is definitely a lesson worth learning.

Gorgeous Pumpkin Patch

I love Halloween art but I don’t love that it looks outdated November 1st. When I saw these starlit pumpkins on the blog Deep Space Sparkle, I knew I had found the perfect art activity for the short lived Halloween season that could extend as a beautiful fall display.

This was a fun two day project. The highlights? The mixing of paint right on the page and the smudging of chalk pastel. The muckier one gets one’s hands, the better it seems to be!

I give full credit to the step by step instructions on Deep Space Sparkle for allowing my class to have such fun and such success with this project! Here are our step by step instructions with photographs.

Step 1: Draw pumpkins and leaves (using black oil pastel) on a large construction weight light coloured paper. Hint: draw an oval first and lines that extend from that. We had a “live” pumpkin in the room to examine for interesting stem shapes and textures and to feel the ridges.

Step 2: Students received brushes and paint colours (yellow, orange, blue) and created orange pumpkins and green leaves by mixing colours wet on wet while painting. Well, you can imagine how exciting it was to have yellow and red turn to orange and blue topped with yellow to transform into green. This was magic in the making!

Add some yellow paint . . .

Top it with red and blend into . . . orange!

Blue and yellow really do make green! And everyone got different shades 🙂

Step 3: On Day 2, cut out pumpkins and leaves and then glue to black paper.

Step 4: We handed each child a brown, green and white piece of chalk pastel. They started by colouring in the stems and adding white highlights to the pumpkin. Using the green, students drew vines and added highlights to their leaves.

Step 5: Draw a full moon and stars with the white chalk. Smudge your moon to give a hazy effect (fun part!)

Then admire your work! And show it off! (Even if it is bigger than you!)

These were lovely calm projects to do on Halloween afternoon before spooky stories and Halloween centres!

Happy Halloween! (And for November – art that can still stay up on the walls!)

Owls all around

Busy little artists in Division 5 have continued to work hard to fill our room with gorgeous owl art to inspire us all to be wise and thoughtful!

This project was inspired by The Snowy Owl Art Project on the amazing art blog Deep Space Sparkle. We benefited from the wonderful photos and step by step instructions! This blog is fantastic for art ideas!  We used different background colours to capture the feeling of fall nights and amazing late afternoon skies that happen as we move from fall to winter.

Step by step, went like this:

1. We painted our background either orange or yellow and then added white paint spatter and drops to represent a blustery sky

2. We added the body of the owl (a circle for the head, a big filled in U for the body, wings and ears) We then let the paint dry overnight.

3. Our next art class was all about adding the finishing touches. Basically transforming some white blobs on a background into fantastically personable owls! First students added a branch for the owl to stand on, big eyes and a beak. Then they switched to fine brushes and outlined all of their original shapes in black paint.

4. With black paint, students added legs, pupils, branch details and feathers for the owls (using little “u” strokes)

Finished projects are wonderful! You can’t help but feel joyful with these owls looking at you.

Our bulletin boards are now full of owls perched on branches watching us!

These owls join our other owls in the classroom (follow this link) . As we grow wiser each day, we appreciate the wisdom that surrounds us!

Graffiti . . . again?

Our morning began with a surprise and it was not a happy one. I brought the students out to see what I saw when I walked to school this morning. A community mural has been further vandalized.

Seriously? More graffiti? This is beyond not okay. By 9:15 a.m. our class was standing outside on the sidewalk a block from our school looking at MORE graffiti on the beautiful mural at Out to Lunch Catering.

Last week we went to look at the graffiti and wrote about our feelings and sadness. (Read that post here) Imagine how upset we were to see more graffiti on the wall today. The mural is almost unrecognizable. Gracie expresses what many of us felt in her writing today:

Many kids were asking why someone would spray paint over art? Why wouldn’t they spray paint on a blank wall? Even though that would still be disrespectful . . . It was the graffiti on a mural that really hit us hard.

We came back to school and wrote. Kids were keen to express their feelings and outrage. The usual “how do you spell . . . ?”  requests were less. Everyone wanted to get their thoughts down. Violet shared: “They used spray paint again. Don’t draw over it. Because it was beautiful the way it was. I don’t like it.”

Kala was really angry and her writing shows it. She wrote this completely independently: “I don’t like it. That hurt my feelings. Please don’t do it again. How will you think if we did that to you? You are dumb. Why did I say that? Because it was mean.”

I heard from Out to Lunch that beginning today, there will be an attempt to clean up the graffiti. A solvent will be used to strip the spray paint from the mural. But there are no guarantees that the mural won’t be smudged. We are crossing all of our little fingers that it works and that nothing is damaged.

Those same fingers attached to the hands we were wringing today at the disrespectful few who decided it was okay to deface a beautiful community mural. To the graffiti “painters” our message is this (quoting from another student’s writing):  “You are so not cool.

Graffiti

A favourite part of my day is walking to work. A favourite part of that walk is when I am a block away from my school and I walk between two huge murals. Beautiful pieces that celebrate our school, neighbourhood and community. Today I was devastated to see that one mural (on the side of Out to Lunch Catering) was covered in graffiti. Waves of white spray paint and large figures like this (below) covered what is usually a gorgeous, lush Vancouver scene.

Since this is my “borrowed community” in the sense of where I work, not where I live, I decided to make sure those who lived in this community were aware. I brought my class out to look at it in the afternoon. It is literally a half block from the school. We walk by it on the way to skating. Many children walk by it on their way to and from school. We are a school that just got a mural we are very proud of. This matters to us. So education for us today was in our classroom. For a little part of the day, our classroom was the sidewalk.

There were many questions. That’s what kids do best! Why did they do that? How will it get off? Will the police come? Did the owners of the building cry? Are they mad? Can it be fixed? Why did “those people” want to be mean? Some students were pretty passionate about it and instantly thought about how upset our mural artist would have felt if this happened to the mural at our school. Some kids were equally fascinated by the rocks that lined the building. Which was another great on the spot lesson on being respectful to space, including outdoor space that wasn’t ours and that was meant for all to enjoy. Teachable moments are everywhere! And students provide them if you can’t find any!!

We then had a discussion abut how students felt looking at it. Many shared: frustrated, sad, mad, aggressive (when I asked about this one, the child elaborated that it made him want to yell at the people who had painted on the mural) and disappointed.

We spent a few more minutes talking about how graffiti typically gets off buildings. More children shared their outrage and confusion and we walked back to school and wrote for ten minutes. Most children chose to include what they saw and how it made them feel. A few simple sentences to convey how they were thinking and feeling and making sense of this. Many drew a picture at the top and then scribbled over it. Like graffiti, scribbles over art.

One little guy wrote that his heart broke into pieces when he saw it. Kind of how I felt. A yucky feeling. Kids just call it – this was not nice, a mean act.

This writing below says: They spray paint on the mural and I am mad and they heart my feelings. Hurt is spelled heart. It is all kind of intertwined.

We are fortunate to go to school in an area surrounded by beautiful murals. Today we talked about how it feels when our art got scribbled on. Not good.

Wisdom all around us

Our art project this week was all about owls! We have decided to fill our classroom with gorgeous owl art so that wise old owls can perch up on our bulletin boards and look down at us learning and growing wiser each day! Kind of a wisdom every where you look scenario!

I got the idea for this art project on the wonderful art blog Deep Space Sparkle in a post that highlighted a number of owl inspired art projects.

We completed this project over two art classes. Day one was drawing and painting and day two colouring a backdrop and adding our owls to our night time scene. Step by step directions follow:

Step 1: Everyone drew an owl on light coloured construction paper after we did a guided drawing lesson about how owls look (think about the tucked in wings, the large eyes, the talons, etc)

I love how each owl had personality just in a pencil drawing!

Step 2: We began painting using just these colours: white, yellow, brown and black.

Students added spots and stripes and played with blending colours.

Fully painted owls looked striking! Details on the wings look like multicoloured feathers.

Step 3: Cut out the owls

Step 4: On black construction paper we drew a tree trunk and branch, stars and a moon (if desired) and attached our owl into the scene.

We only used yellow, brown, black and red/orange oil pastels for our backdrop.

Wishing everyone a very wise fall in their classrooms! 

The Season of Sunflowers

Sunflowers are in various stages of splendour around the city. Some are in full bloom. Some are drooping. Some are going to seed and their petals are drying and falling off. We brought in sunflowers and filled our room with sunflower books and captured this beautiful moment of fall in our artwork. Our sunflowers were also inspired by the gorgeous Vincent Van Gogh sunflowers on the blog For the Love of Art.

Follow our process step by step:

First we drew sunflowers in pencil and outlined our completed drawings with black sharpies.

Students thought about petal size and shape and showed flowers in various stages of vitality. Some students added insects or other details to their pictures.

There were no rules about size and shape of flowers and so each picture turned out to be very different.

On Day 2 we painted our blue backgrounds (gave students choice of just two blues), vases and tables (again colour choice was limited to orange, brown or red.)

Students chose to use a smaller brush when painting close to their flowers and stems.

Everyone was very excited about how wonderful the first colours looked together.

Day 3 was all about paining the stems and all of our blossoms and petals. We used browns, yellows and oranges for the flowers. Students snaked their paint brushes up the stems between vase and flowers.

Painting the sunflowers allowed us to get very creative.

Students blended colours and spent the entire art class on task and talking about their work. Just lovely to observe!

If your class has done any sunflower art this fall, please share by providing a link in the comments section!

Happy Sunflower Season!

I Feel a Foot

We shared a gorgeous picture book in class today which inspired some beautiful art. I Feel a Foot is written by Maranke Rinck and illustrated by Martijn van der Linden.

Turtle, Bat, Octopus, Bird and Goat awake in the dark of night to a sound. Each one goes exploring and runs into some kind of creature. Turtle thinks it is a humungous turtle because he feels what seems to be a turtle leg. Bird thinks he feels a beak. It must be a huge bird! Octopus thinks he feels a large tentacle. The creature is an octopus (super sized). In the end it turns out that each animal felt just one body part and that the animal is actually . . .  Do you think you can guess?

We were inspired by the bright colours in the illustrations to make our own turtles and birds.

IMG_4406

We used oil pastels, coloured construction paper and tried to create interesting patterns and outlines around our animals.

IMG_4408

We then cut out around the outside of  our creations.  Ms. Gelson and Miriam glued them onto black construction paper and they are posted on a bulletin board in our classroom! Come in and take a peek!

IMG_4411

We love the expressive eyes and smiles on these turtles!

IMG_4405

The great thing about this project? Everyone finished an animal! And . . . all of our work was displayed together. Posted together, the effect is all the more striking!

IMG_4403

Every picture is so unique!

IMG_4404

Self Portraits courtesy of Arts Umbrella

What I love about Arts Umbrella Workshops:

1. Engaging, skilled teachers who can instruct and inspire in less than 20 minutes!

IMG_3821

2. Students get to work big! Nothing like having one class and the whole gym floor to spread out on for art!

IMG_3832

3. With instruction that inspires confidence, students are able to apply new learning instantly. Instructors walk around and give lots of great feedback!

IMG_3843

Look how well the proper position of the facial features has been learned!

IMG_3850

4. Students take risks. They aren’t afraid to experiment and try new things because it has been modeled and encouraged! Look at the fantastic colours!

IMG_3855

 5. Students get to create pieces where they get feedback that sounds like this: “Wow!” “Did you do that?” “That really looks like you!”

IMG_3852

 6. The instructors leave us with hints for finishing off pieces (like going back to add details with pastels) so that completed pieces really stand out!

IMG_3973

7. Our hallway and classroom bulletin boards look like this a few days later!

IMG_3976

Thanks again Arts Umbrella for a fantastic learning experience!

We imagined some gardens . . .

This gorgeous book written by Andrew Larsen and illustrated by Irene Luxbacher was our inspiration for some beautiful flower art. The Imaginary Garden tells a story of grandfather and granddaughter who paint a lush garden mural when a real garden is no longer possible in Poppa’s new apartment.

Just as little Theodora and Poppa created flowers from bright green stems and blobs of paint colour, the students used dabs of paint to create beautiful imagined gardens, each one unique.

Students began by adding dibs and dabs, blobs and swirls of bright coloured paint to their papers.

Adding the blooms

Some chose to make huge blooms. Others, a mixture of shapes and sizes.

Then with vibrant green paint, stems were added.

Carefully snaking the stems up to the flowers

We let our pictures dry overnight with plans to add details the next day with felt markers.

When we were ready to add more detail to the flowers on Day 2 we used two books by Lois Ehlert for inspiration.

Planting a Rainbow takes us on a garden tour colour by colour.

Waiting for Wings tells the story of butterflies flitting flower to flower in a garden in full bloom. Both books are gorgeous.

Each student approached this step very carefully creating a variety of interesting effects. Markers were used to add details to blossoms and stems.

Adding details

Finished pieces are stunning. Come check out our display in the hall and walk through an imaginary garden or two or three . . .

Can you pick a favourite flower?

We were so pleased with how these pieces turned out that our Mother’s Day cards are painted in the same style!

Another one just because they are that beautiful . . .

 Tempted to come visit our display yet? They really do look beautiful all together!

Happy Mother’s Day to all of the Moms, Grandmas and important women who love us!