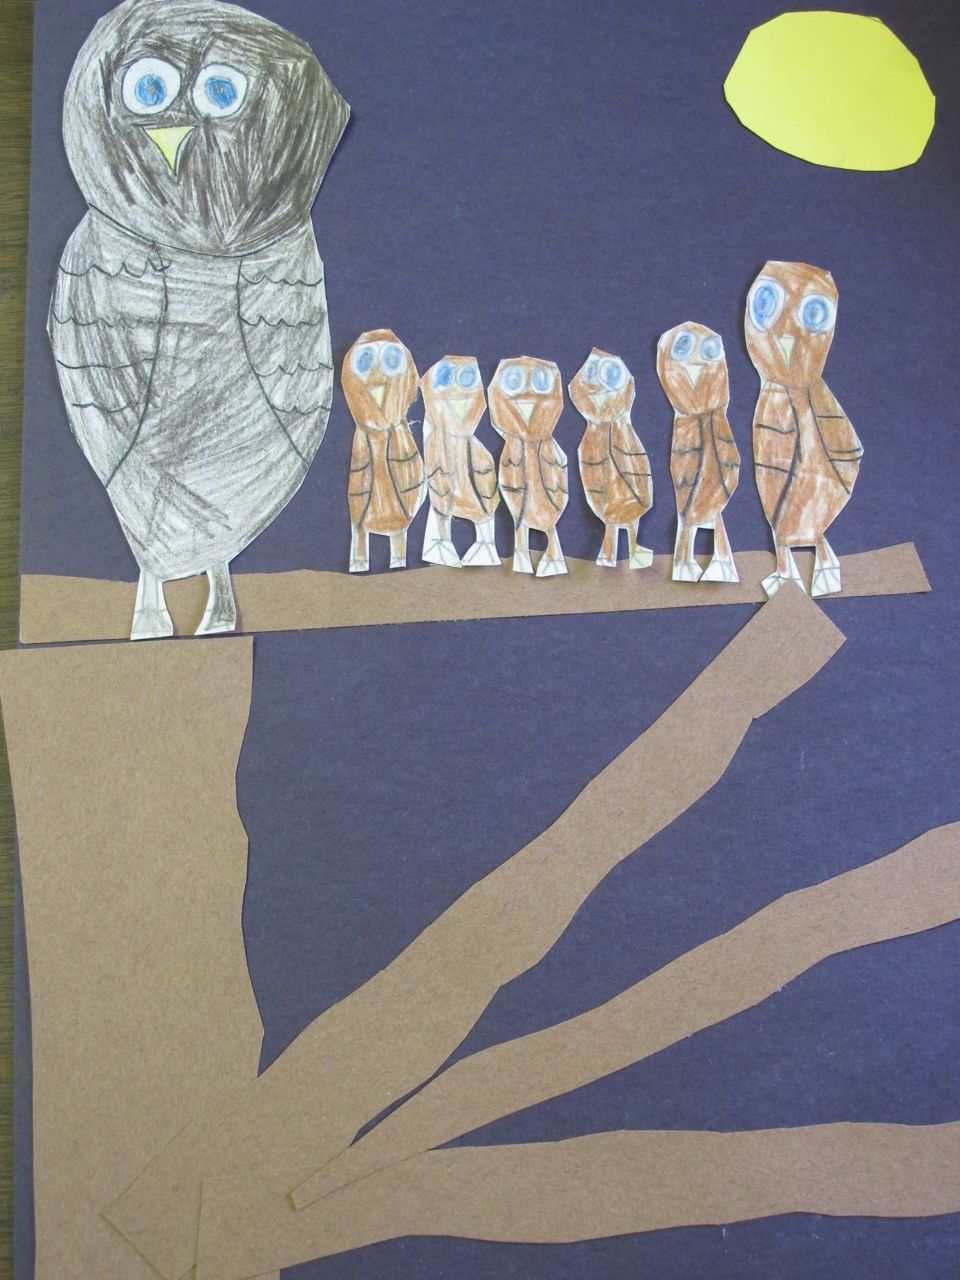
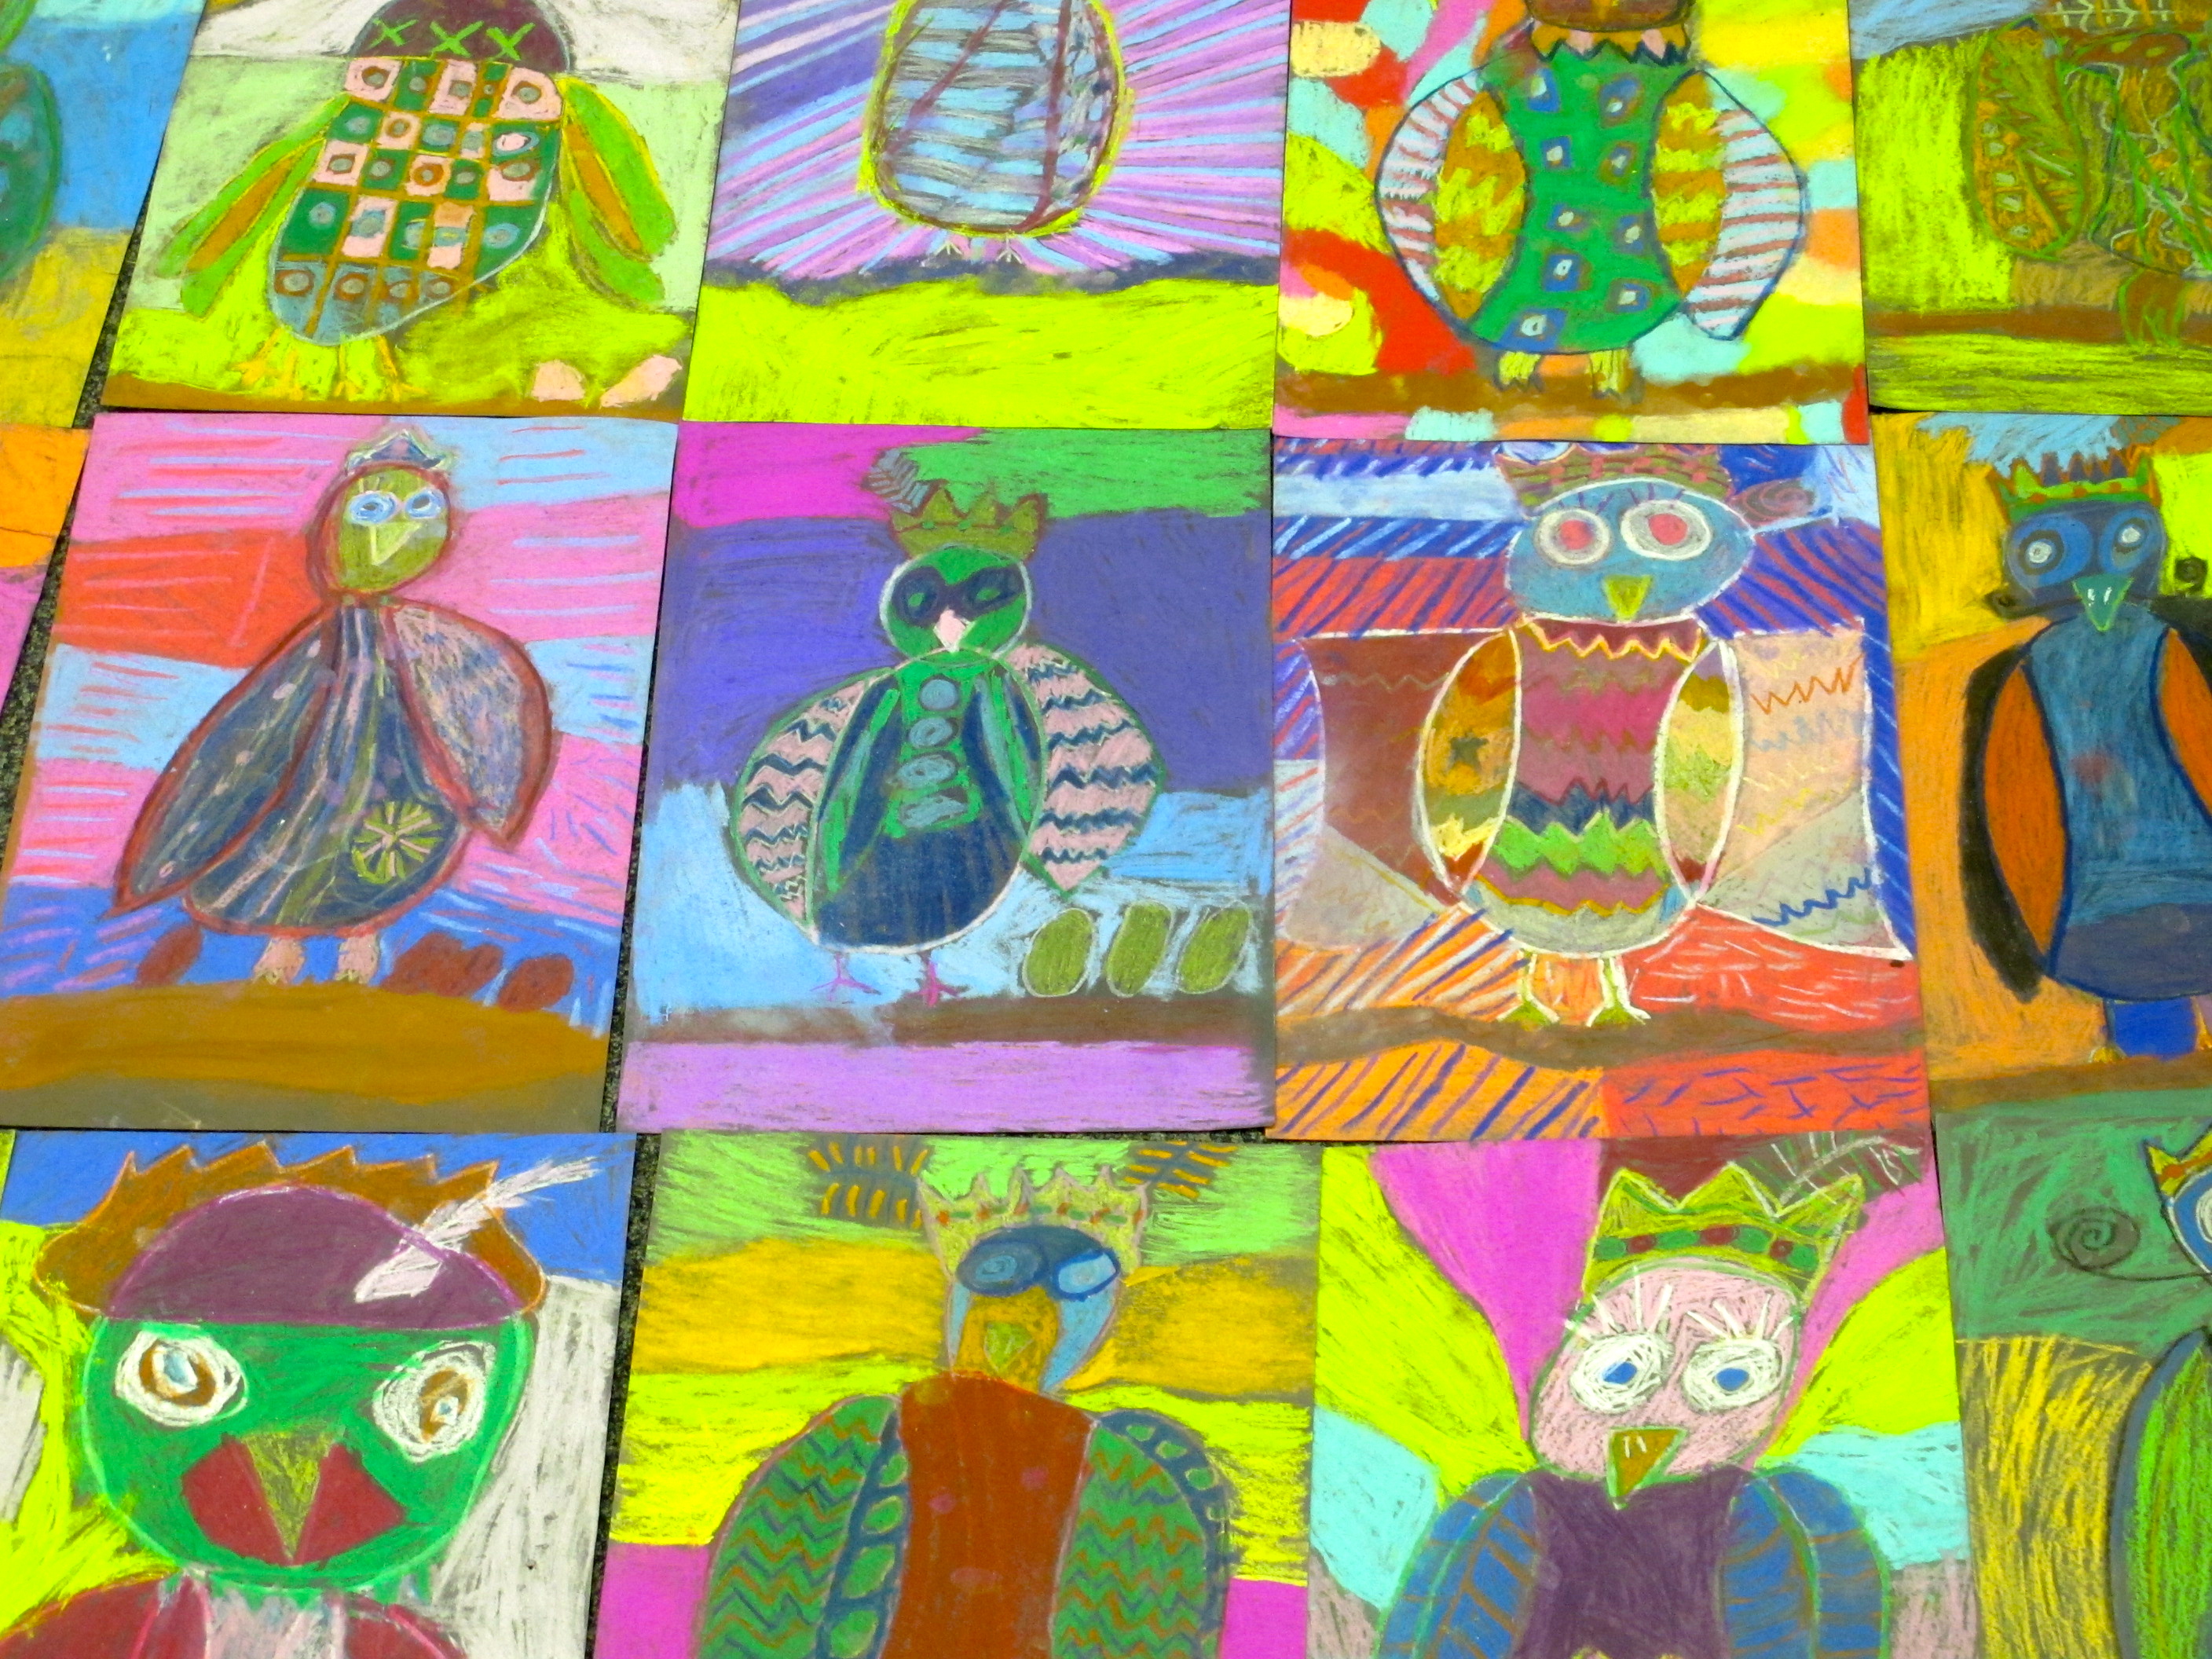
These beautiful owls are now perched up high on our our bulletin boards – wise eyes watching us:
Inspired by this wonderful post on the art blog A Glimmer of Light, we created these gorgeous owls. Here is our process.
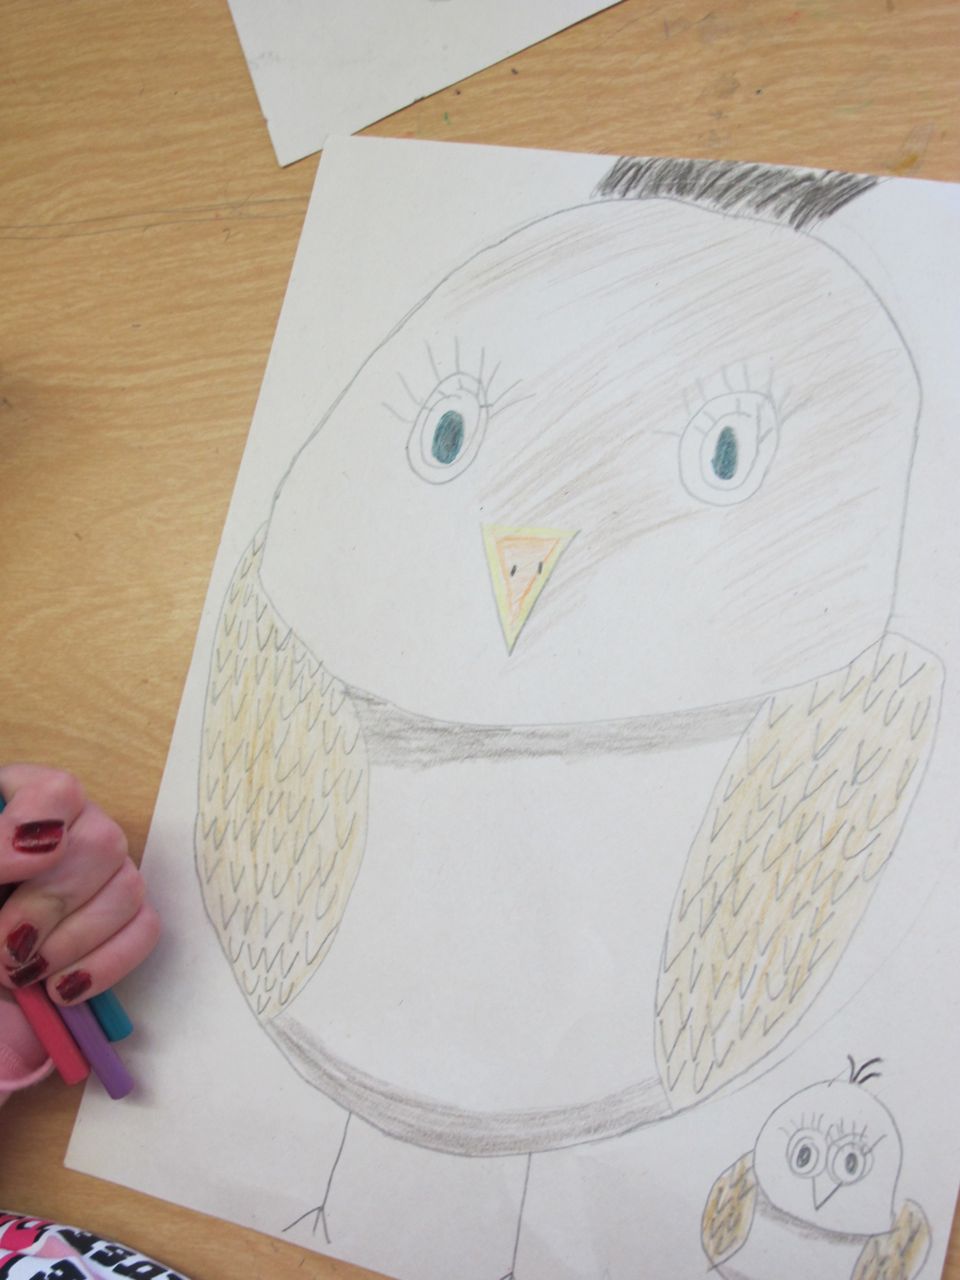
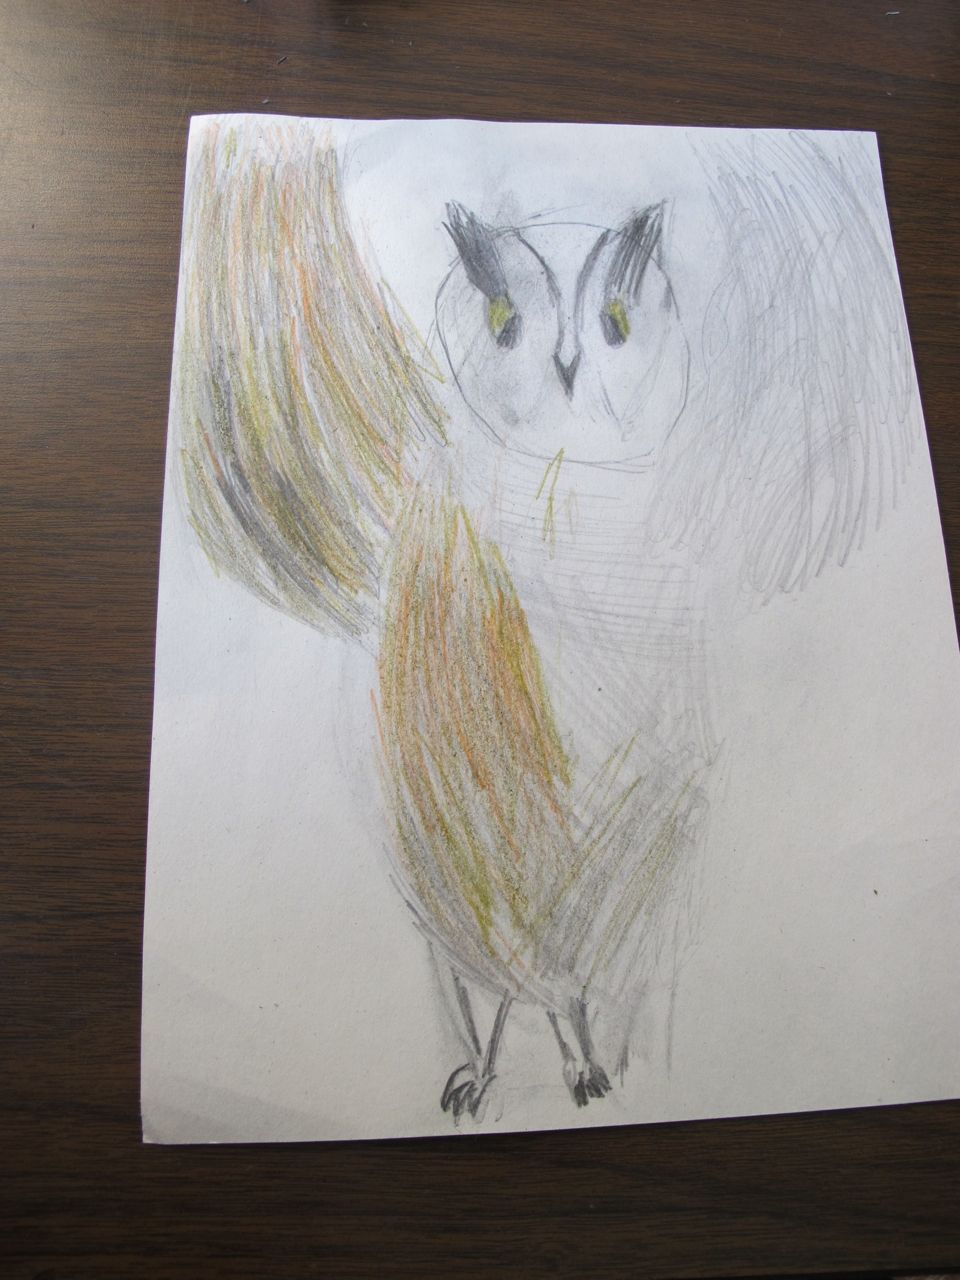
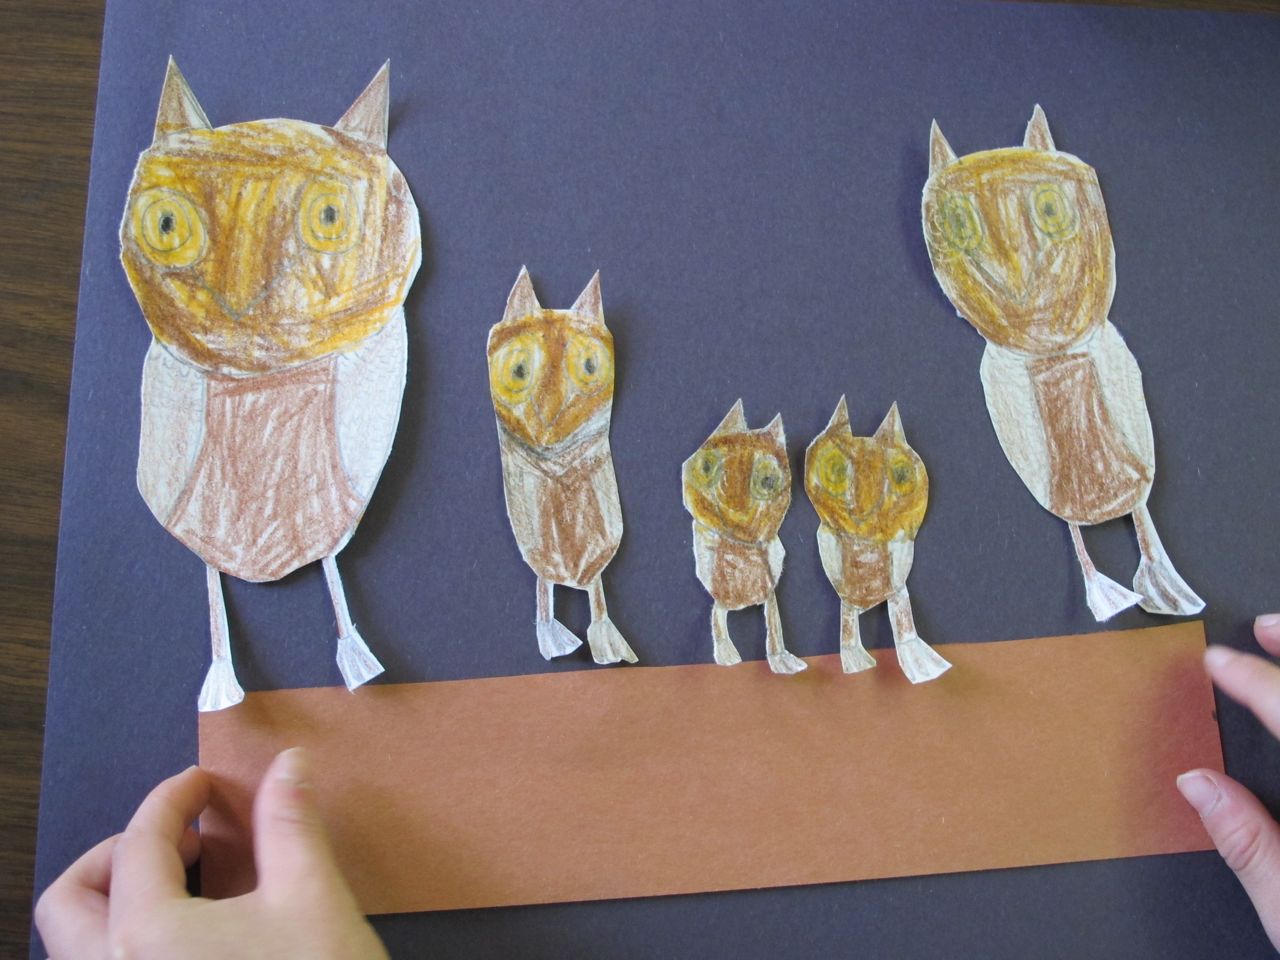
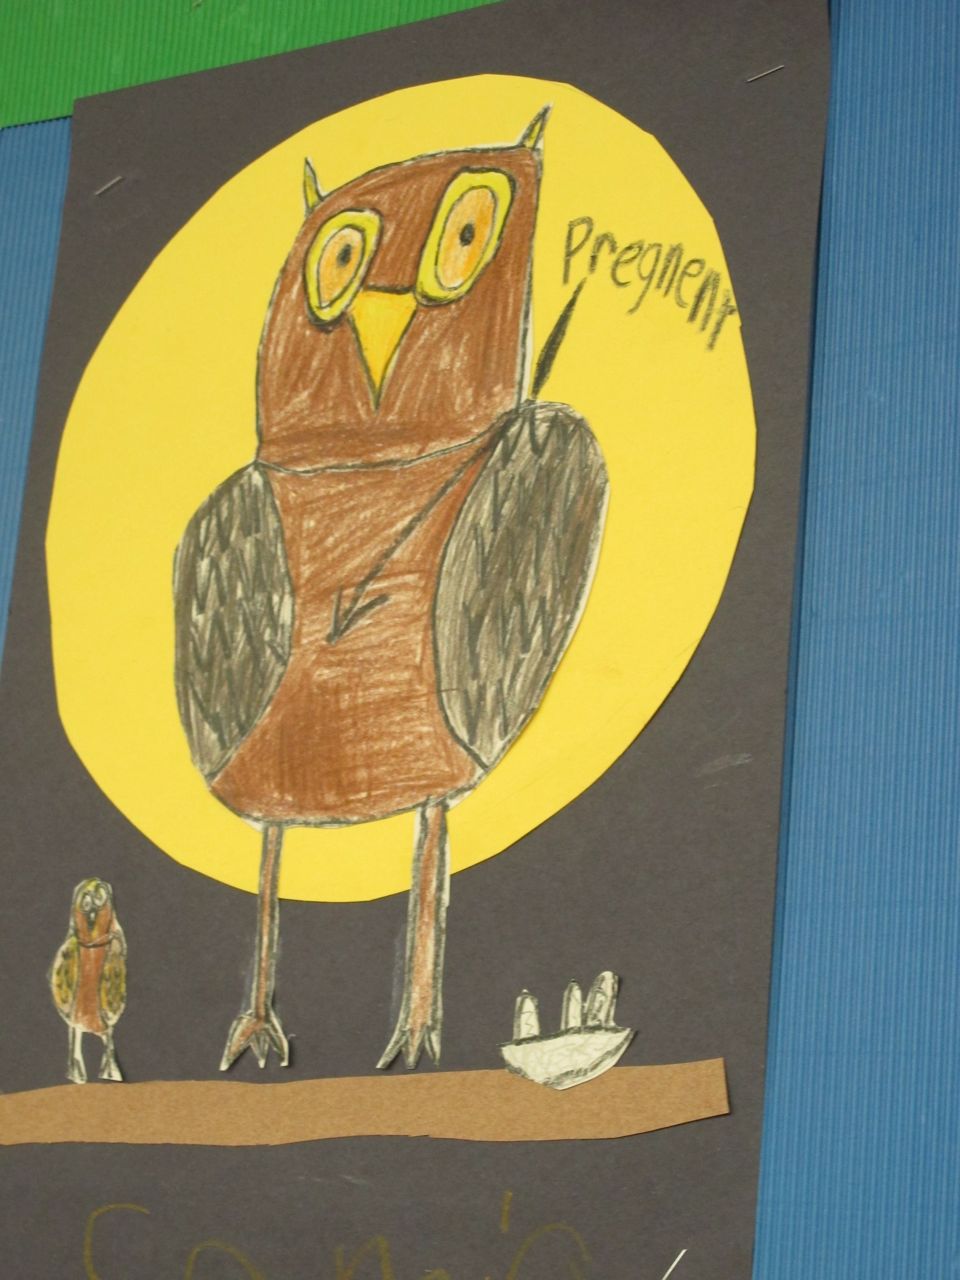
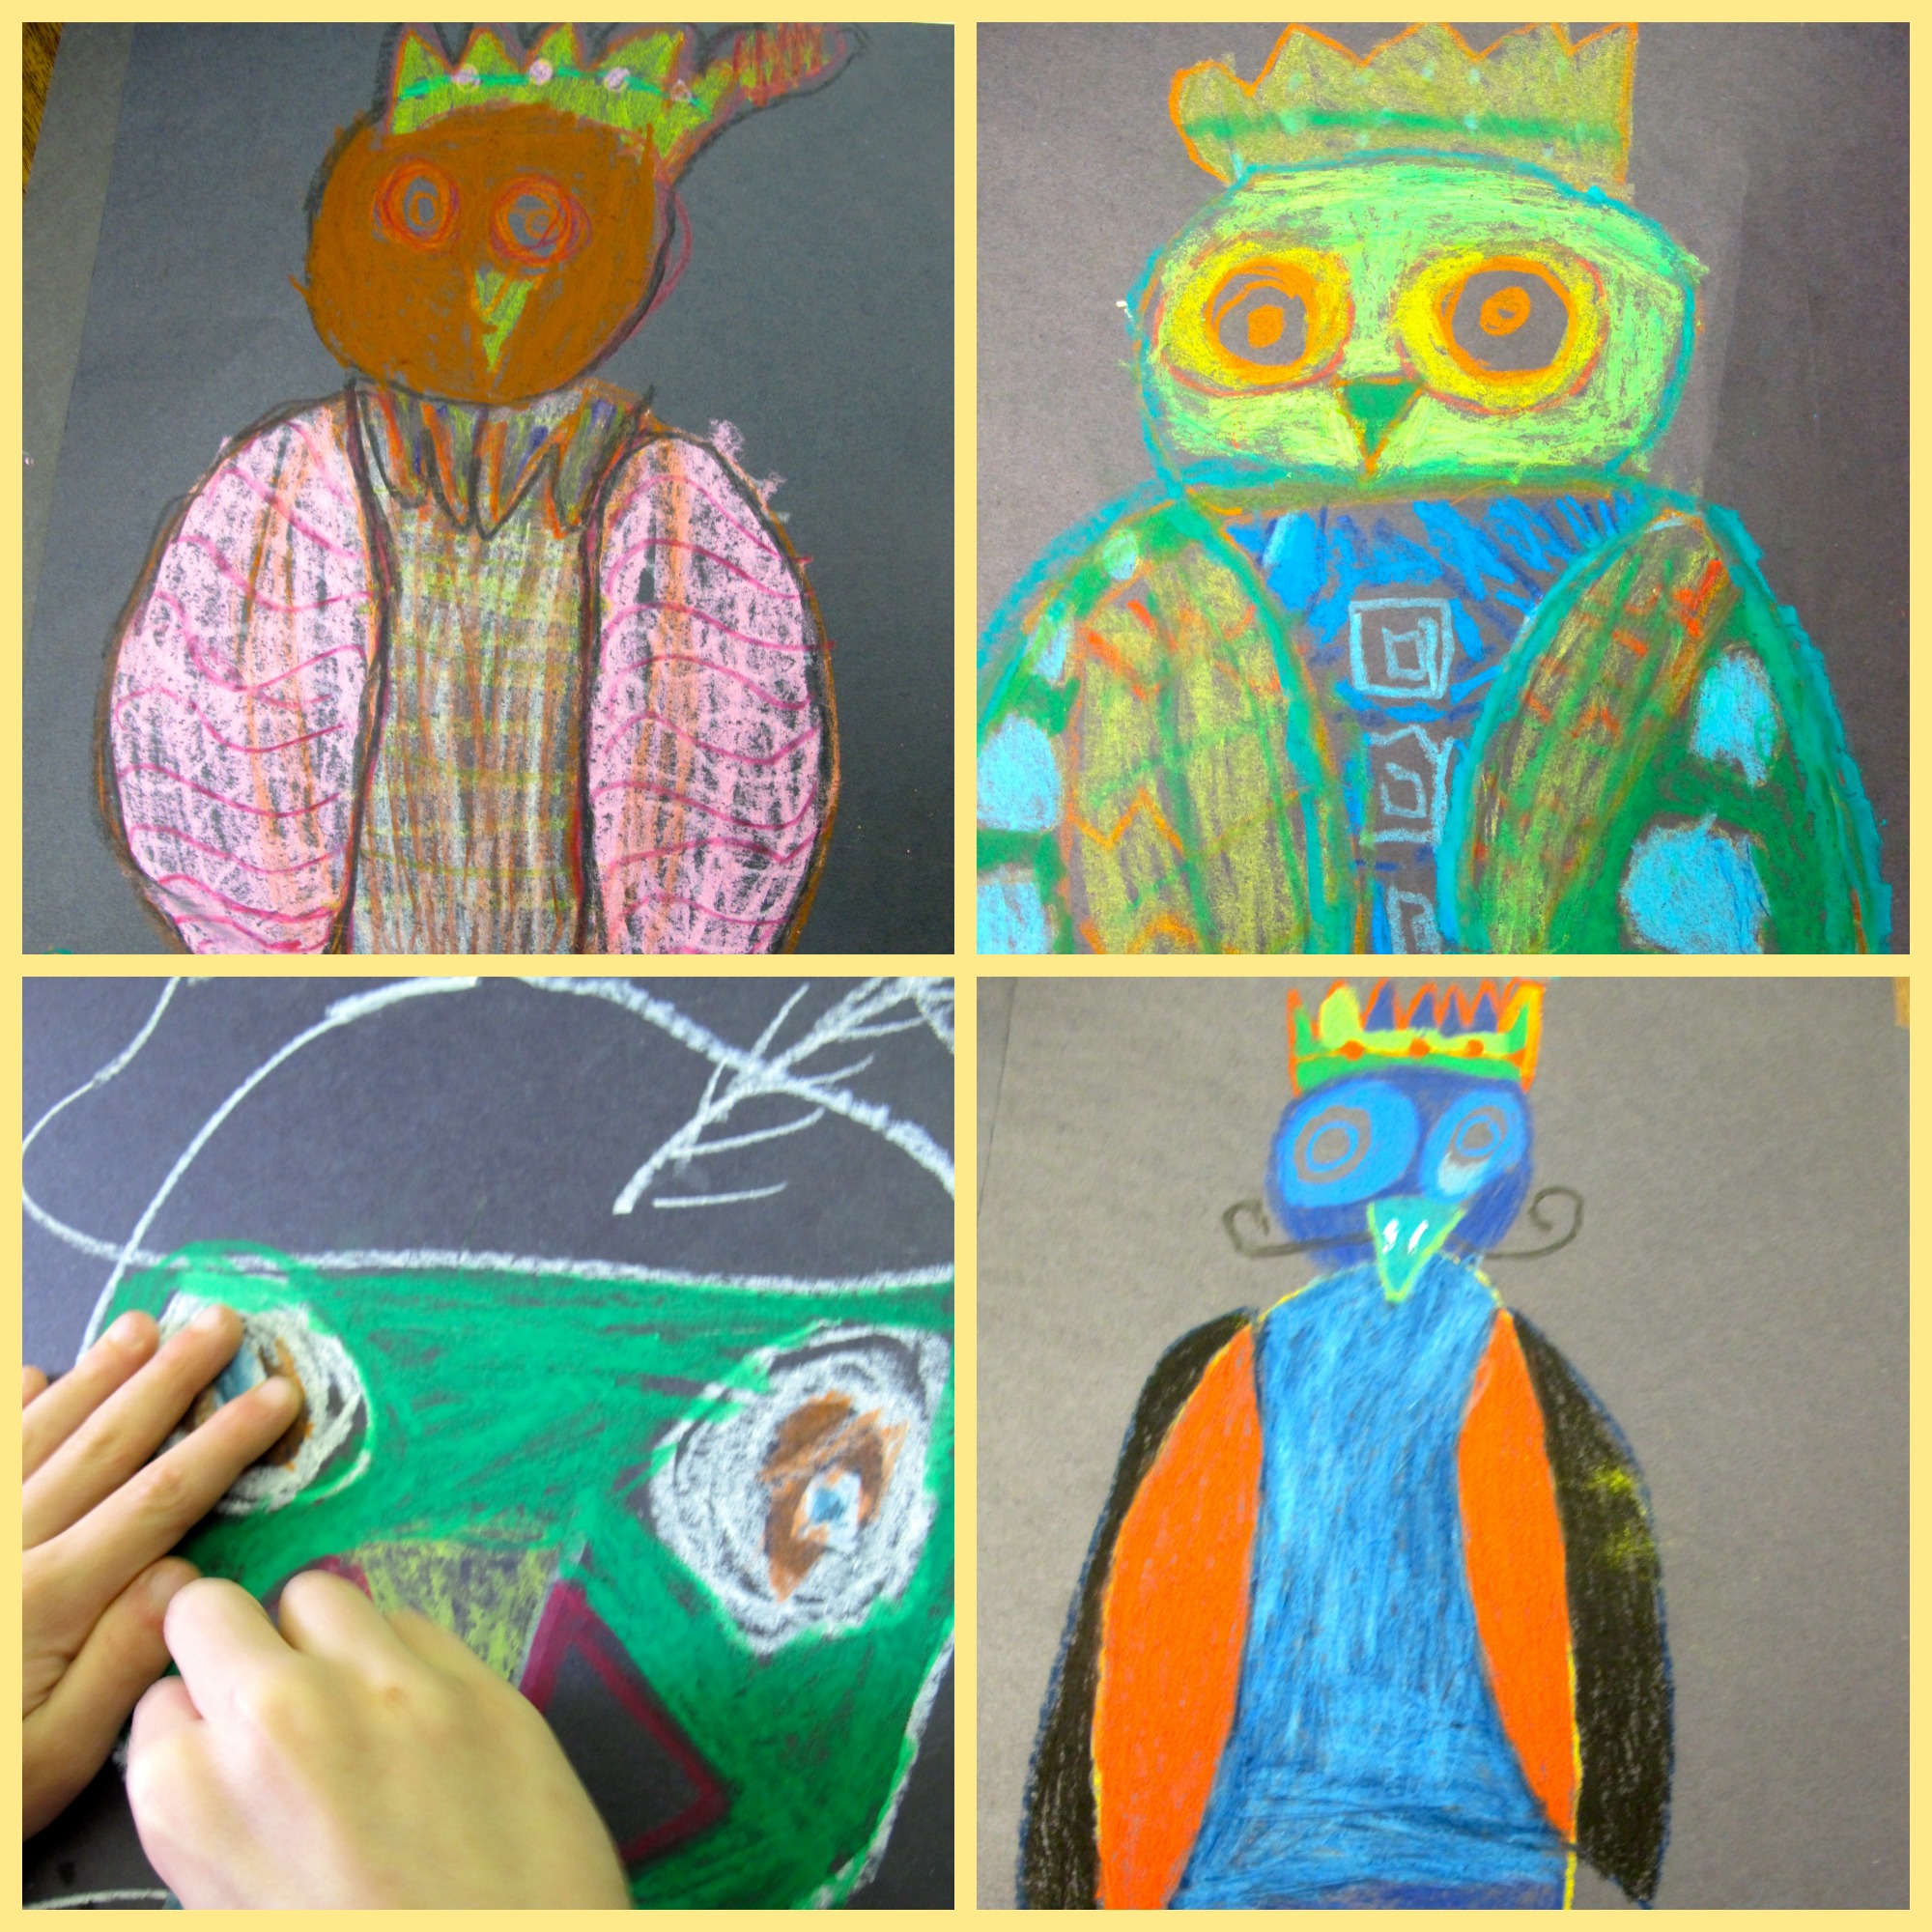
First, we drew with oil pastel directly onto black construction paper (no pencil marks first!) – thinking about the shapes of the body, eyes, wings, talons and added a fancy crown. Students then began colouring in the owls with oil pastels, creating patterns and textures.
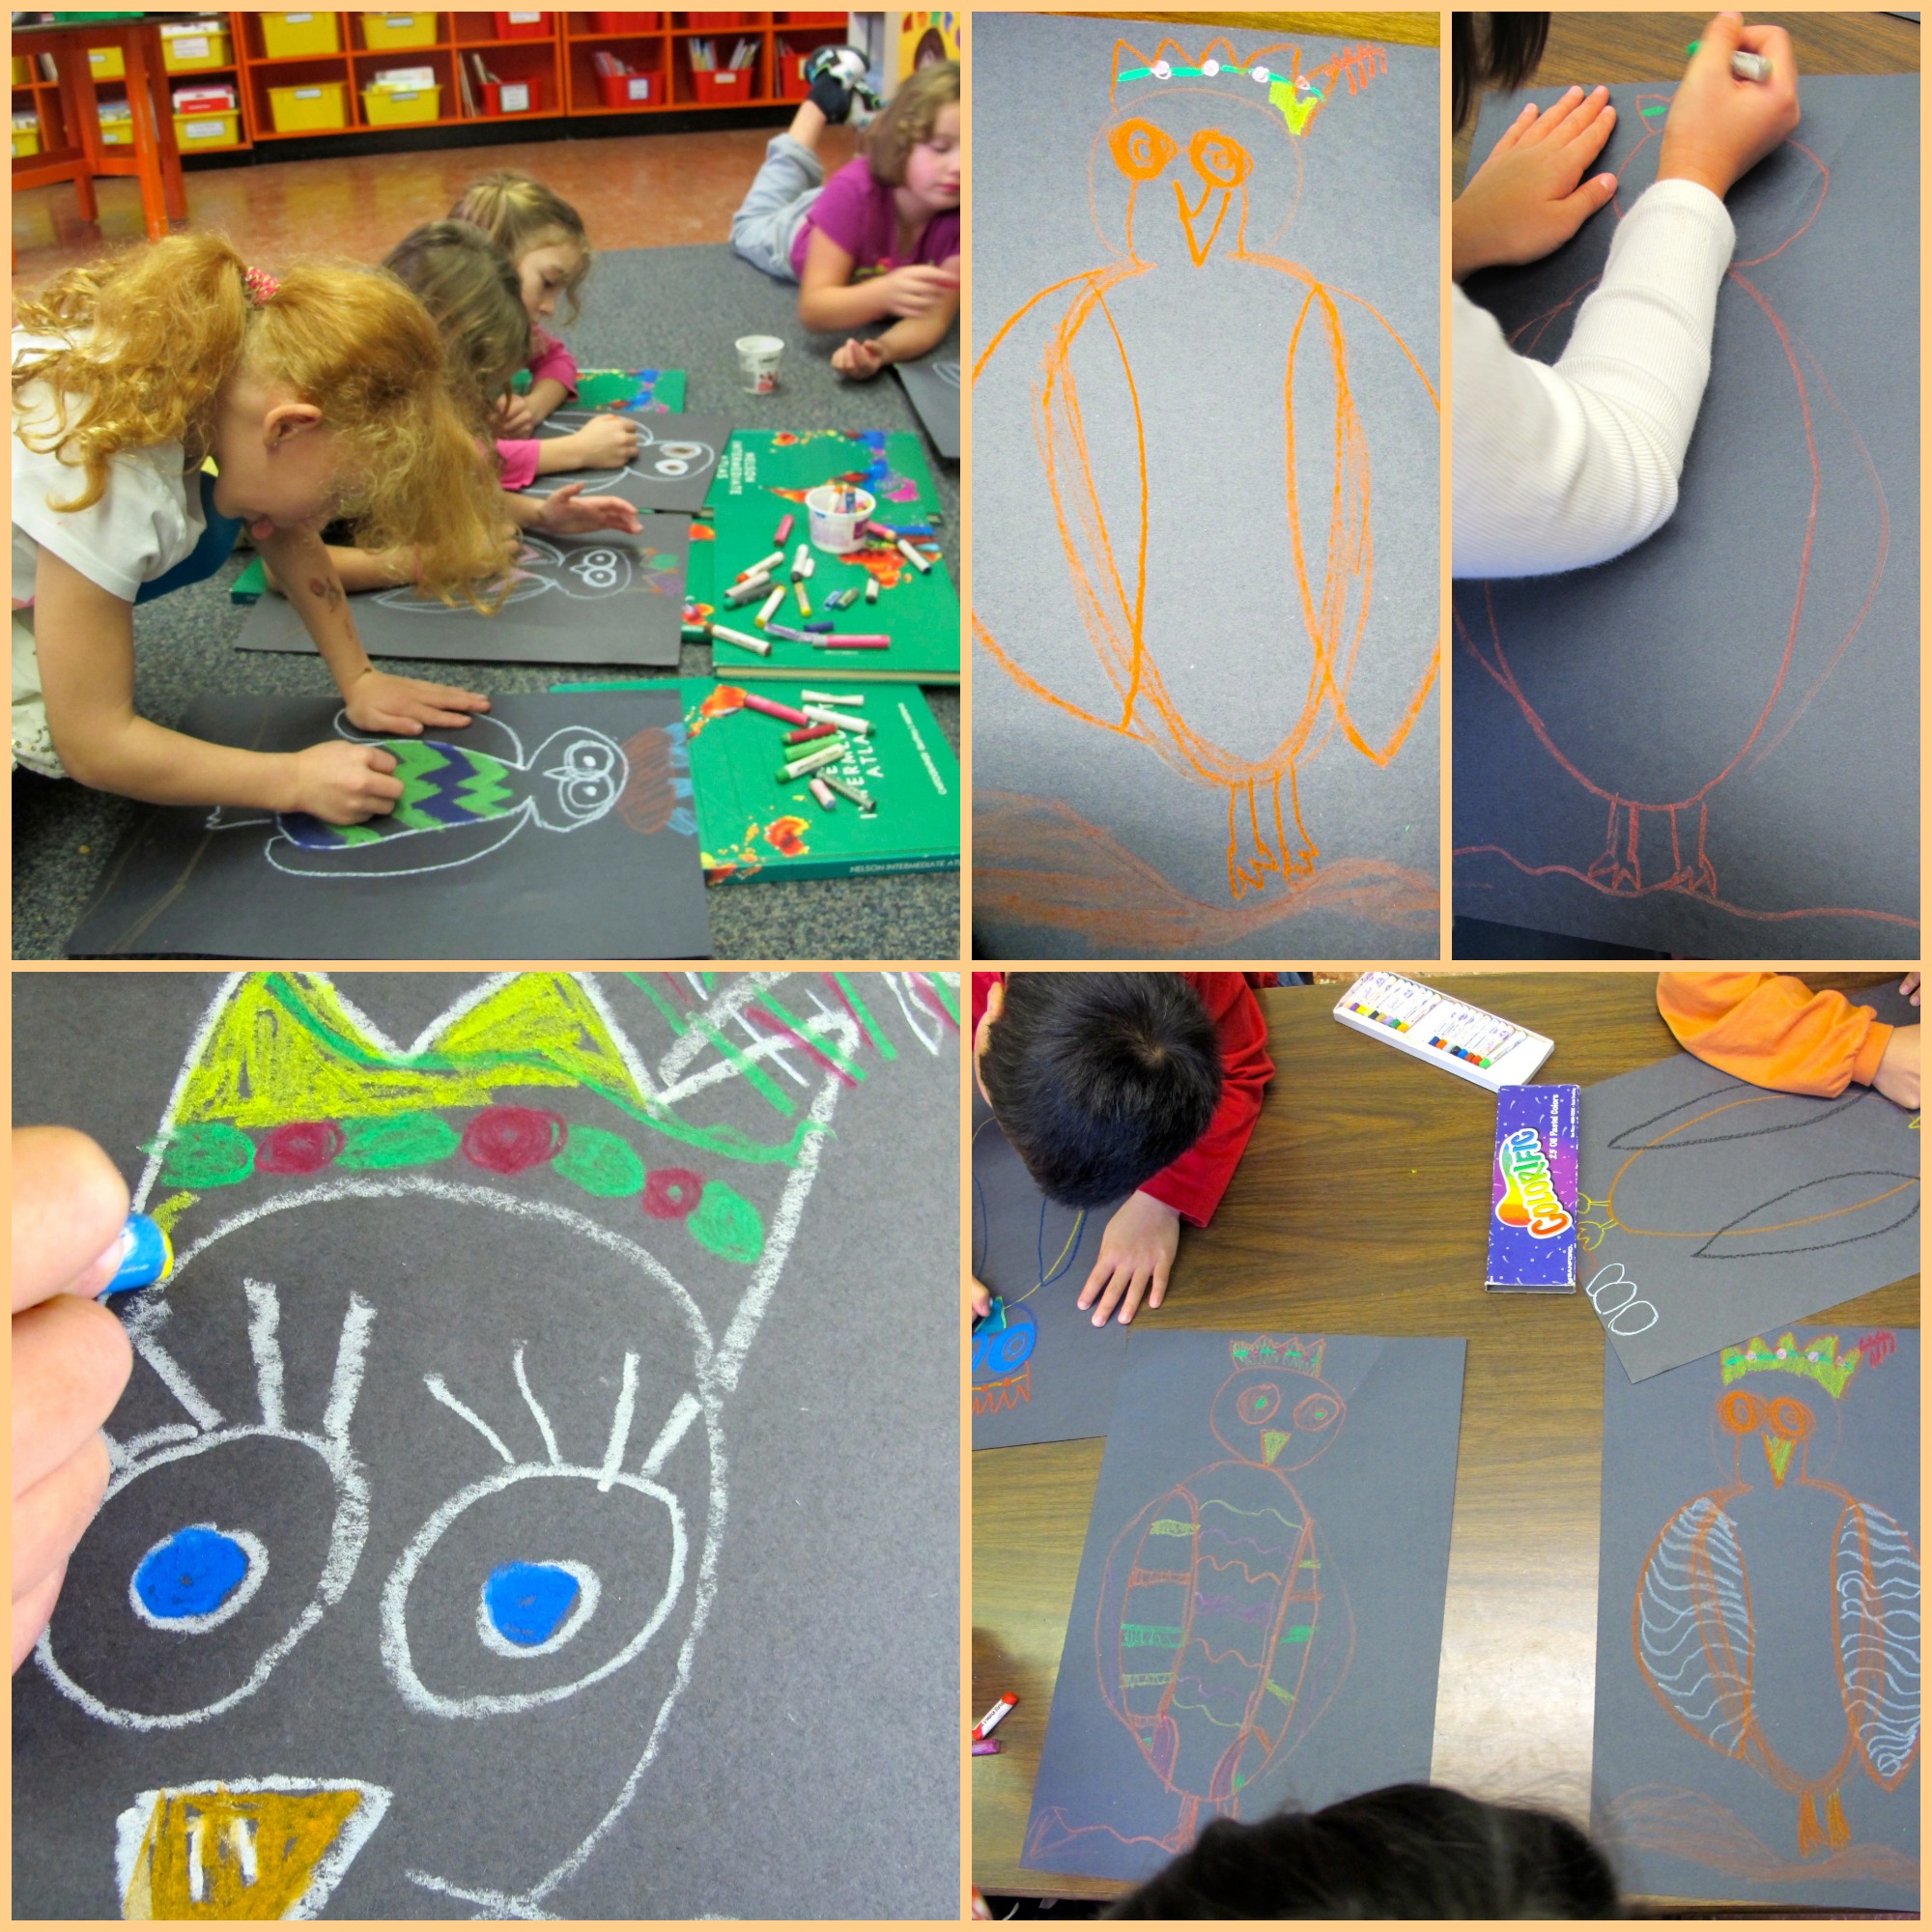
After about 20 minutes of work time, most children were at this stage: shapes drawn and quite a bit of colouring and design complete.

On Day 2, we just had another short amount of work time so our goal was to finish adding colour to our owls and to outline important lines.
On Day 3, we broke out the chalk pastels and added bright and beautiful backgrounds with swirls and stripes. Students were encouraged to not use more than 4 different colours.
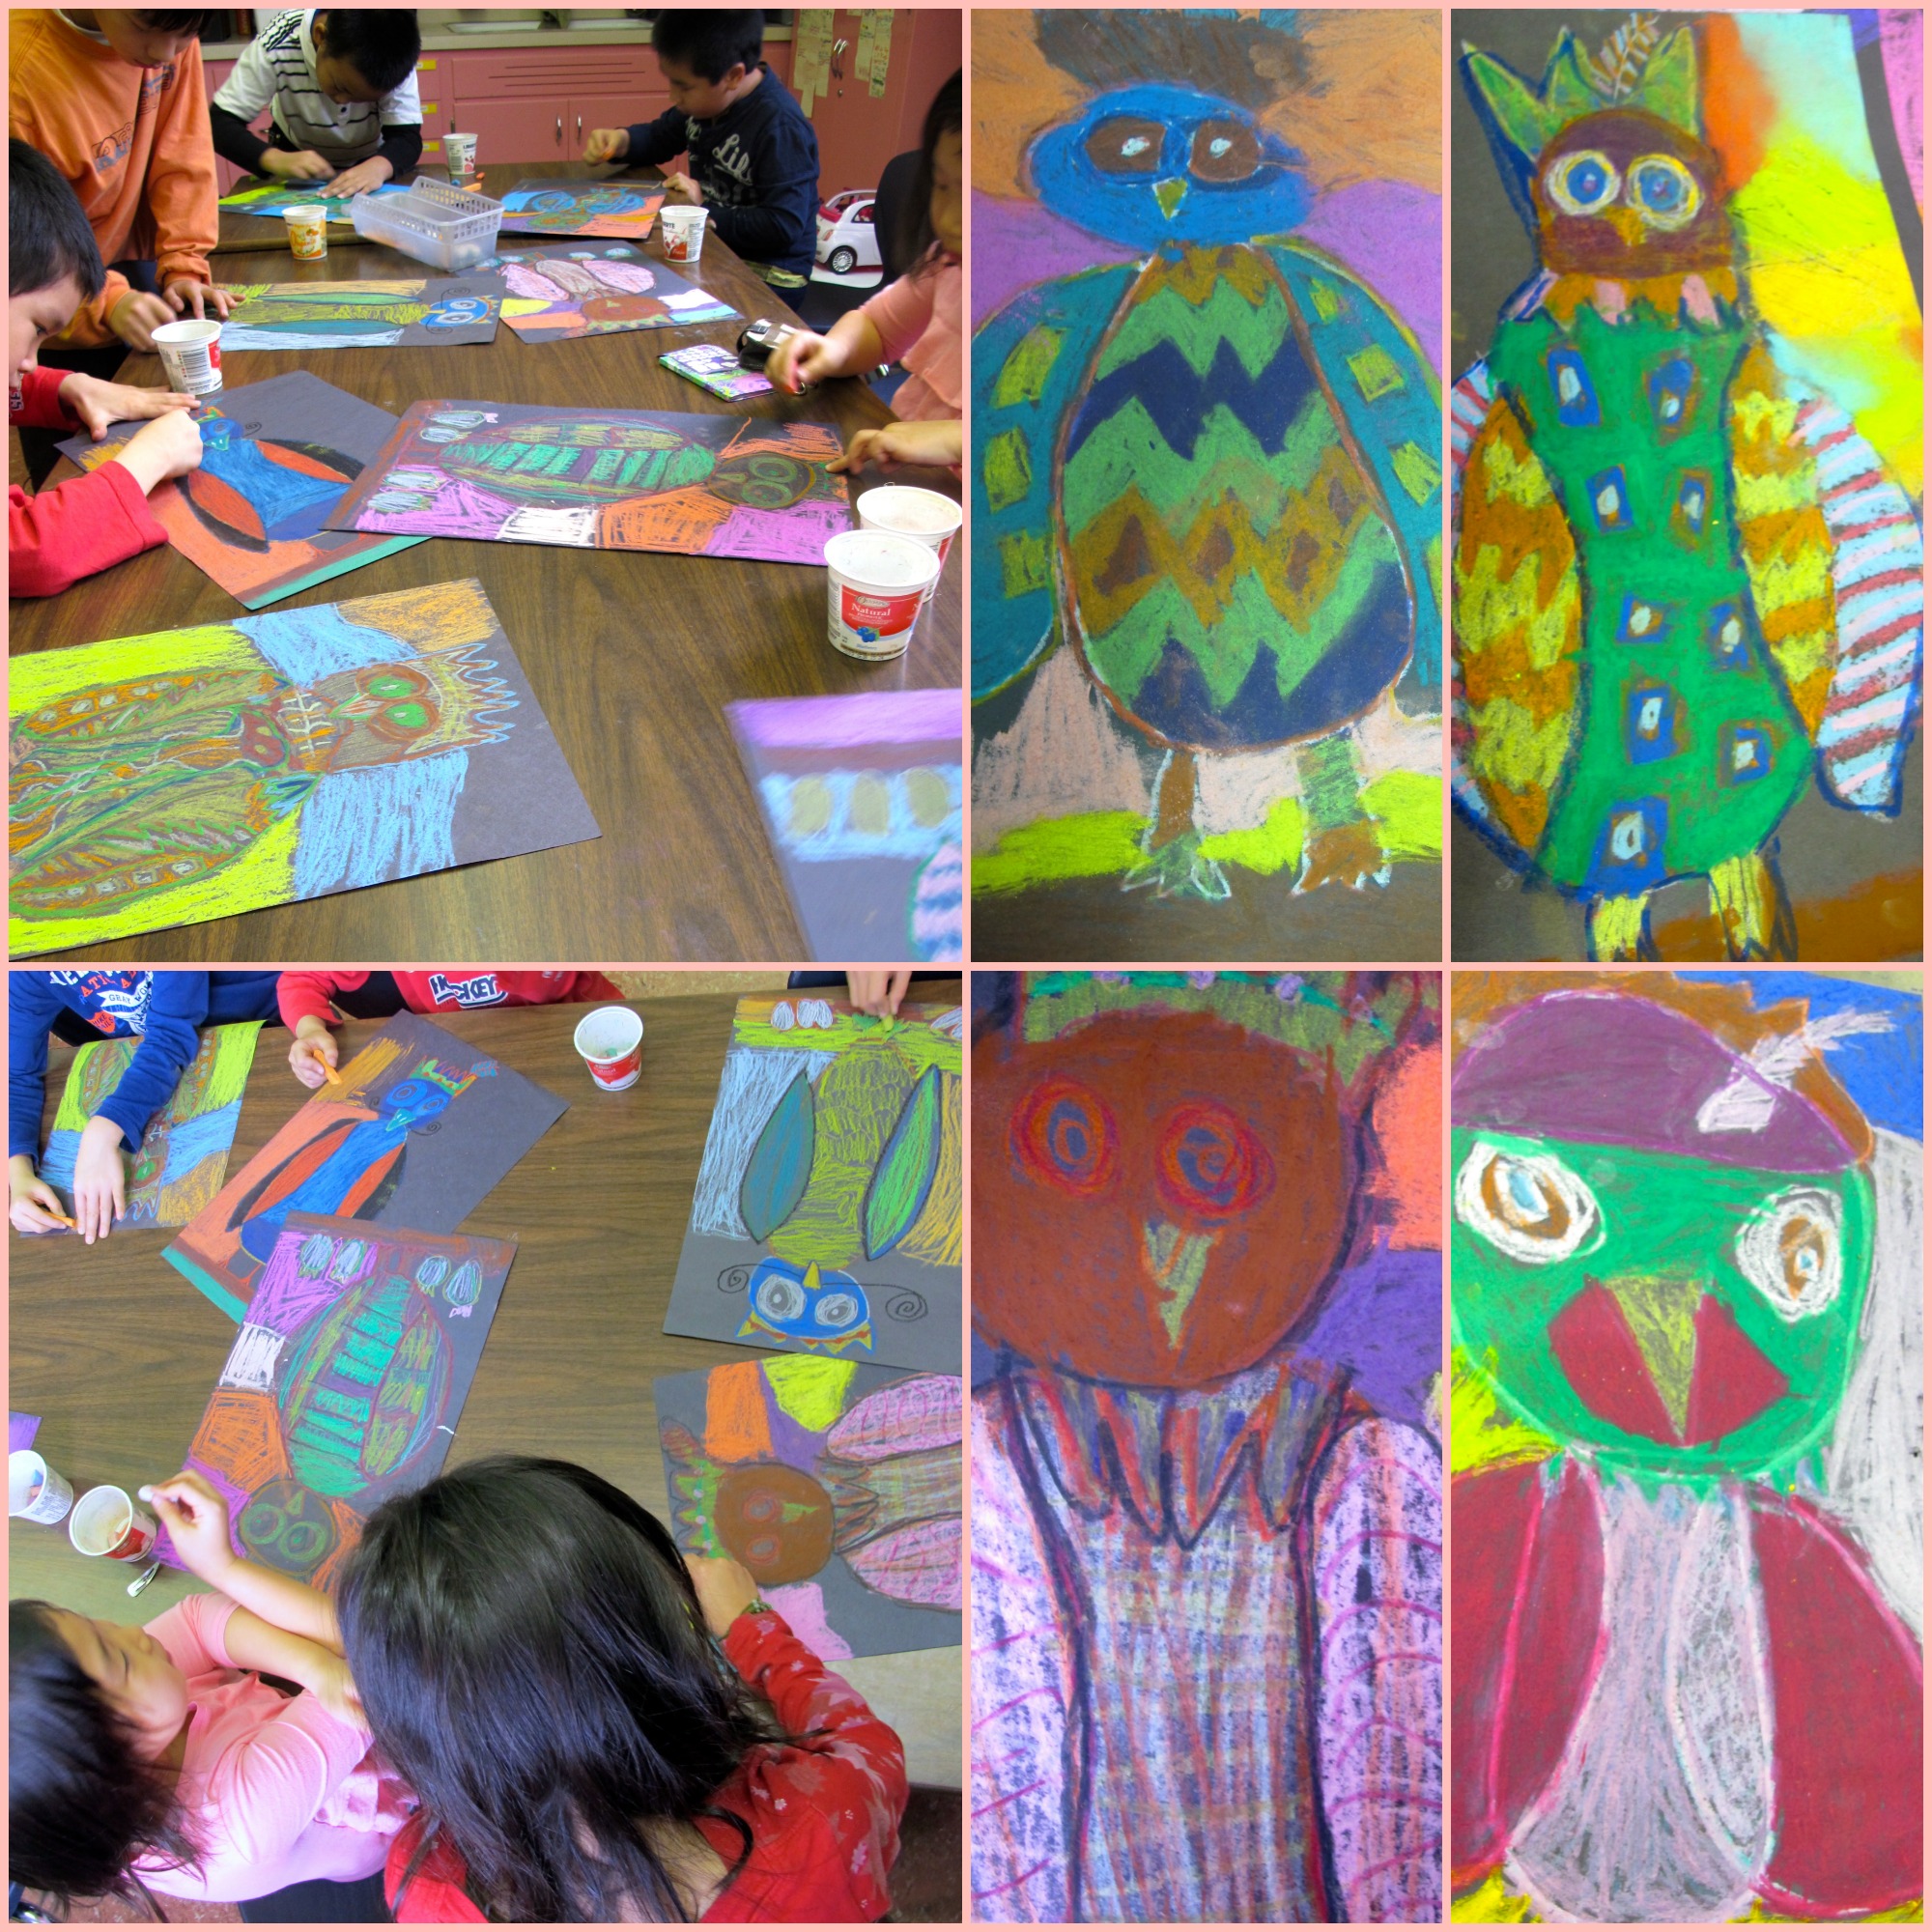
Many students helped with background colouring so that we could all complete our masterpieces to have them ready to post up in the room.

Final step was to outline any lines that had blurred at the edges of the owls into the chalk pastel background and these stunning owls were ready!

Some students even wrote a little bit to share about their process or about who their owl might be . . . . Check out our classroom blog Curiosity Racers to read about what was shared and to see some more images!